One of the key controls in the Android app is the Navigation Drawer , but QML component is not ready for this item, but the guys from Cutehacks made your Navigation Drawer , the code of the component is laid out on githabe. I have long wanted to run the code on an Android device and live my hands finally to have reached it.
I studied in detail the code and slightly it corrected, because that version was some discrepancy Material Design in the sense that the socket was revealed 78 per cent of the width of the screen, regardless of orientation. A Material Design recommends portrait disclose Navigation Drawer so that it did not reach the opposite edge 56 dip in the case with smartphones and 64 dip in the case of tablets, but make at least for smartphones, and in landscape orientation was not more 320 dip width. What I corrected, and drank a small part of the unnecessary at the moment and a little bit of code rename the variable by itself.
With regard to the magnitude of the dip , that is independent of the pixel density of the display device, it is a question of the correct scaling of interface elements.
I bring to your attention an example of the use of the Navigation Drawer to change the three fragments in the Loader object using three menu items that will be located in the Navigation Drawer.
The structure of the project to work with the Navigation Drawer
The structure of the project will be similar to the structure of the draft articles on the working with the component Loader .
- QmlNavigationDrawer.pro - the profile of the project;
- main.cpp - the main file of the application source code;
- main.qml - basic qml code file;
- Fragment1.qml - the first fragment for replacement Loader;
- Fragment2.qml - second fragment;
- Fragment3.qml - a third fragment.
- NavigationDrawer.qml - the object Navigation Drawer.
main.cpp is created by default and is not subject to change, so it will not be given a listing, as well as the project profile.
main.qml
In our application will Application Bar, which is the object type the Rectangle, and in Him we put-burger icon, by pressing on which will open and close the Navigation Drawer via toggle () function, in this case it would overlap the Application Bar in accordance with the recommendations of Material Design. A below Application Bar all the remaining space will occupy the Loader component, in which we are going to change the pieces.
Also put in the code object Navigation Drawer, which put the ListView. This ListView is located a list of menu items. By clicking the menu item will cause a change in the function of the component Loader, passing in this function its index. And on Loader index will determine which component you want to download.
- import QtQuick 2.5
- import QtQuick.Controls 1.4
- import QtQuick.Window 2.0
- import QtQuick.Layouts 1.1
- ApplicationWindow {
- visible: true
- width: 700
- height: 480
- title: qsTr("Hello World")
- // Conversion independent of the density of pixels to physical pixels the device
- readonly property int dpi: Screen.pixelDensity * 25.4
- function dp(x){ return (dpi < 120) ? x : x*(dpi/160); }
- // Application Bar
- Rectangle {
- id: menuRect
- anchors.top: parent.top
- anchors.left: parent.left
- anchors.right: parent.right
- height: dp(48)
- color: "#4cd964"
- // Icon-Hamburger
- Rectangle {
- anchors.top: parent.top
- anchors.bottom: parent.bottom
- anchors.left: parent.left
- width: dp(48)
- color: "#4cd964"
- Rectangle {
- anchors.top: parent.top
- anchors.topMargin: dp(16)
- anchors.left: parent.left
- anchors.leftMargin: dp(14)
- width: dp(20)
- height: dp(2)
- }
- Rectangle {
- anchors.top: parent.top
- anchors.topMargin: dp(23)
- anchors.left: parent.left
- anchors.leftMargin: dp(14)
- width: dp(20)
- height: dp(2)
- }
- Rectangle {
- anchors.top: parent.top
- anchors.topMargin: dp(30)
- anchors.left: parent.left
- anchors.leftMargin: dp(14)
- width: dp(20)
- height: dp(2)
- }
- MouseArea {
- anchors.fill: parent
- onClicked: {
- nav.toggle()
- }
- }
- }
- }
- Loader {
- id: loader
- anchors.top: menuRect.bottom
- anchors.left: parent.left
- anchors.right: parent.right
- anchors.bottom: parent.bottom
- source: "Fragment1.qml"
- function loadFragment(index){
- switch(index){
- case 0:
- loader.source = "Fragment1.qml"
- break;
- case 1:
- loader.source = "Fragment2.qml"
- break;
- case 2:
- loader.source = "Fragment3.qml"
- break;
- default:
- loader.source = "Fragment1.qml"
- break;
- }
- }
- }
- NavigationDrawer {
- id: nav
- Rectangle {
- anchors.fill: parent
- color: "white"
- ListView {
- anchors.fill: parent
- delegate: Item {
- height: dp(48)
- anchors.left: parent.left
- anchors.right: parent.right
- Rectangle {
- anchors.fill: parent
- anchors.margins: dp(5)
- color: "whitesmoke"
- Text {
- text: fragment
- anchors.fill: parent
- font.pixelSize: dp(20)
- renderType: Text.NativeRendering
- horizontalAlignment: Text.AlignHCenter
- verticalAlignment: Text.AlignVCenter
- }
- MouseArea {
- anchors.fill: parent
- // By clicking on the menu item is replaced component in the Loader
- onClicked: {
- loader.loadFragment(index)
- }
- }
- }
- }
- model: navModel
- }
- }
- }
- ListModel {
- id: navModel
- ListElement {fragment: "Fragment 1"}
- ListElement {fragment: "Fragment 2"}
- ListElement {fragment: "Fragment 3"}
- }
- }
Fragment1.qml and other fragments
And other code fragments Fragment1.qml identical except that they all have a different background color.
- import QtQuick 2.5
- Rectangle {
- anchors.fill: parent
- color: "green"
- Text {
- text: "Fragment 1"
- color: "white"
- anchors.top: parent.top
- anchors.right: parent.right
- anchors.margins: dp(50)
- font.pixelSize: dp(30)
- renderType: Text.NativeRendering
- }
- }
NavigationDrawer.qml
And here is the code of the Navigation Drawer, which is located in our list of fragments. This code can be taken and used immediately or thoroughly meditate on it, to thoroughly understand all the nuances of its implementation and it is possible to improve it.
- import QtQuick 2.5
- import QtQuick.Window 2.0
- Rectangle {
- id: panel
- // Conversion independent of the density of pixels to physical pixels the device
- readonly property int dpi: Screen.pixelDensity * 25.4
- function dp(x){ return (dpi < 120) ? x : x*(dpi/160); }
- property bool open: false // State Navigation Drawer - Open / Closed
- property int position: Qt.LeftEdge // Location Navigation Drawer - Left / Right
- // Functions of the opening and closing Navigation Drawer
- function show() { open = true; }
- function hide() { open = false; }
- function toggle() { open = open ? false : true; }
- // internal properties Navigation Drawer
- readonly property bool _rightEdge: position === Qt.RightEdge
- readonly property int _closeX: _rightEdge ? _rootItem.width : - panel.width
- readonly property int _openX: _rightEdge ? _rootItem.width - width : 0
- readonly property int _minimumX: _rightEdge ? _rootItem.width - panel.width : -panel.width
- readonly property int _maximumX: _rightEdge ? _rootItem.width : 0
- readonly property int _pullThreshold: panel.width/2
- readonly property int _slideDuration: 260
- readonly property int _openMarginSize: dp(20)
- property real _velocity: 0
- property real _oldMouseX: -1
- property Item _rootItem: parent
- on_RightEdgeChanged: _setupAnchors()
- onOpenChanged: completeSlideDirection()
- width: (Screen.width > Screen.height) ? dp(320) : Screen.width - dp(56)
- height: parent.height
- x: _closeX
- z: 10
- function _setupAnchors() {
- _rootItem = parent;
- shadow.anchors.right = undefined;
- shadow.anchors.left = undefined;
- mouse.anchors.left = undefined;
- mouse.anchors.right = undefined;
- if (_rightEdge) {
- mouse.anchors.right = mouse.parent.right;
- shadow.anchors.right = panel.left;
- } else {
- mouse.anchors.left = mouse.parent.left;
- shadow.anchors.left = panel.right;
- }
- slideAnimation.enabled = false;
- panel.x = _rightEdge ? _rootItem.width : - panel.width;
- slideAnimation.enabled = true;
- }
- function completeSlideDirection() {
- if (open) {
- panel.x = _openX;
- } else {
- panel.x = _closeX;
- Qt.inputMethod.hide();
- }
- }
- function handleRelease() {
- var velocityThreshold = dp(5)
- if ((_rightEdge && _velocity > velocityThreshold) ||
- (!_rightEdge && _velocity < -velocityThreshold)) {
- panel.open = false;
- completeSlideDirection()
- } else if ((_rightEdge && _velocity < -velocityThreshold) ||
- (!_rightEdge && _velocity > velocityThreshold)) {
- panel.open = true;
- completeSlideDirection()
- } else if ((_rightEdge && panel.x < _openX + _pullThreshold) ||
- (!_rightEdge && panel.x > _openX - _pullThreshold) ) {
- panel.open = true;
- panel.x = _openX;
- } else {
- panel.open = false;
- panel.x = _closeX;
- }
- }
- function handleClick(mouse) {
- if ((_rightEdge && mouse.x < panel.x ) || mouse.x > panel.width) {
- open = false;
- }
- }
- onPositionChanged: {
- if (!(position === Qt.RightEdge || position === Qt.LeftEdge )) {
- console.warn("SlidePanel: Unsupported position.")
- }
- }
- Behavior on x {
- id: slideAnimation
- enabled: !mouse.drag.active
- NumberAnimation {
- duration: _slideDuration
- easing.type: Easing.OutCubic
- }
- }
- NumberAnimation on x {
- id: holdAnimation
- to: _closeX + (_openMarginSize * (_rightEdge ? -1 : 1))
- running : false
- easing.type: Easing.OutCubic
- duration: 200
- }
- MouseArea {
- id: mouse
- parent: _rootItem
- y: _rootItem.y
- width: open ? _rootItem.width : _openMarginSize
- height: _rootItem.height
- onPressed: if (!open) holdAnimation.restart();
- onClicked: handleClick(mouse)
- drag.target: panel
- drag.minimumX: _minimumX
- drag.maximumX: _maximumX
- drag.axis: Qt.Horizontal
- drag.onActiveChanged: if (active) holdAnimation.stop()
- onReleased: handleRelease()
- z: open ? 1 : 0
- onMouseXChanged: {
- _velocity = (mouse.x - _oldMouseX);
- _oldMouseX = mouse.x;
- }
- }
- Connections {
- target: _rootItem
- onWidthChanged: {
- slideAnimation.enabled = false
- panel.completeSlideDirection()
- slideAnimation.enabled = true
- }
- }
- Rectangle {
- id: backgroundBlackout
- parent: _rootItem
- anchors.fill: parent
- opacity: 0.5 * Math.min(1, Math.abs(panel.x - _closeX) / _rootItem.width/2)
- color: "black"
- }
- Item {
- id: shadow
- anchors.left: panel.right
- anchors.leftMargin: _rightEdge ? 0 : dp(10)
- height: parent.height
- Rectangle {
- height: dp(10)
- width: panel.height
- rotation: 90
- opacity: Math.min(1, Math.abs(panel.x - _closeX)/ _openMarginSize)
- transformOrigin: Item.TopLeft
- gradient: Gradient{
- GradientStop { position: _rightEdge ? 1 : 0 ; color: "#00000000"}
- GradientStop { position: _rightEdge ? 0 : 1 ; color: "#2c000000"}
- }
- }
- }
- }
Conclusion
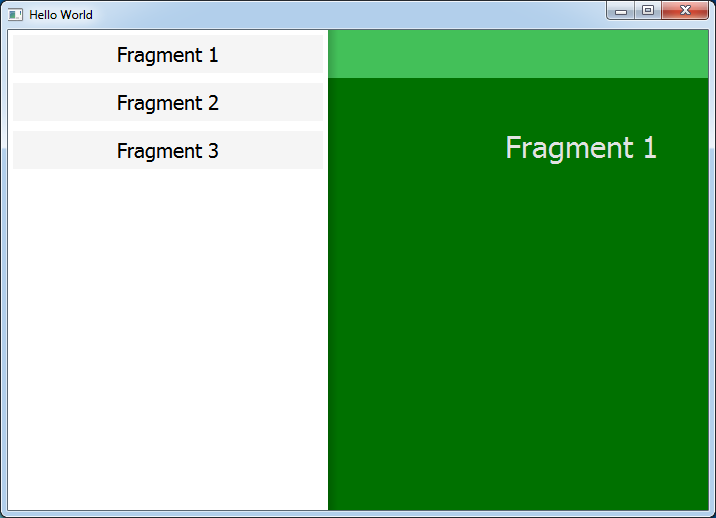
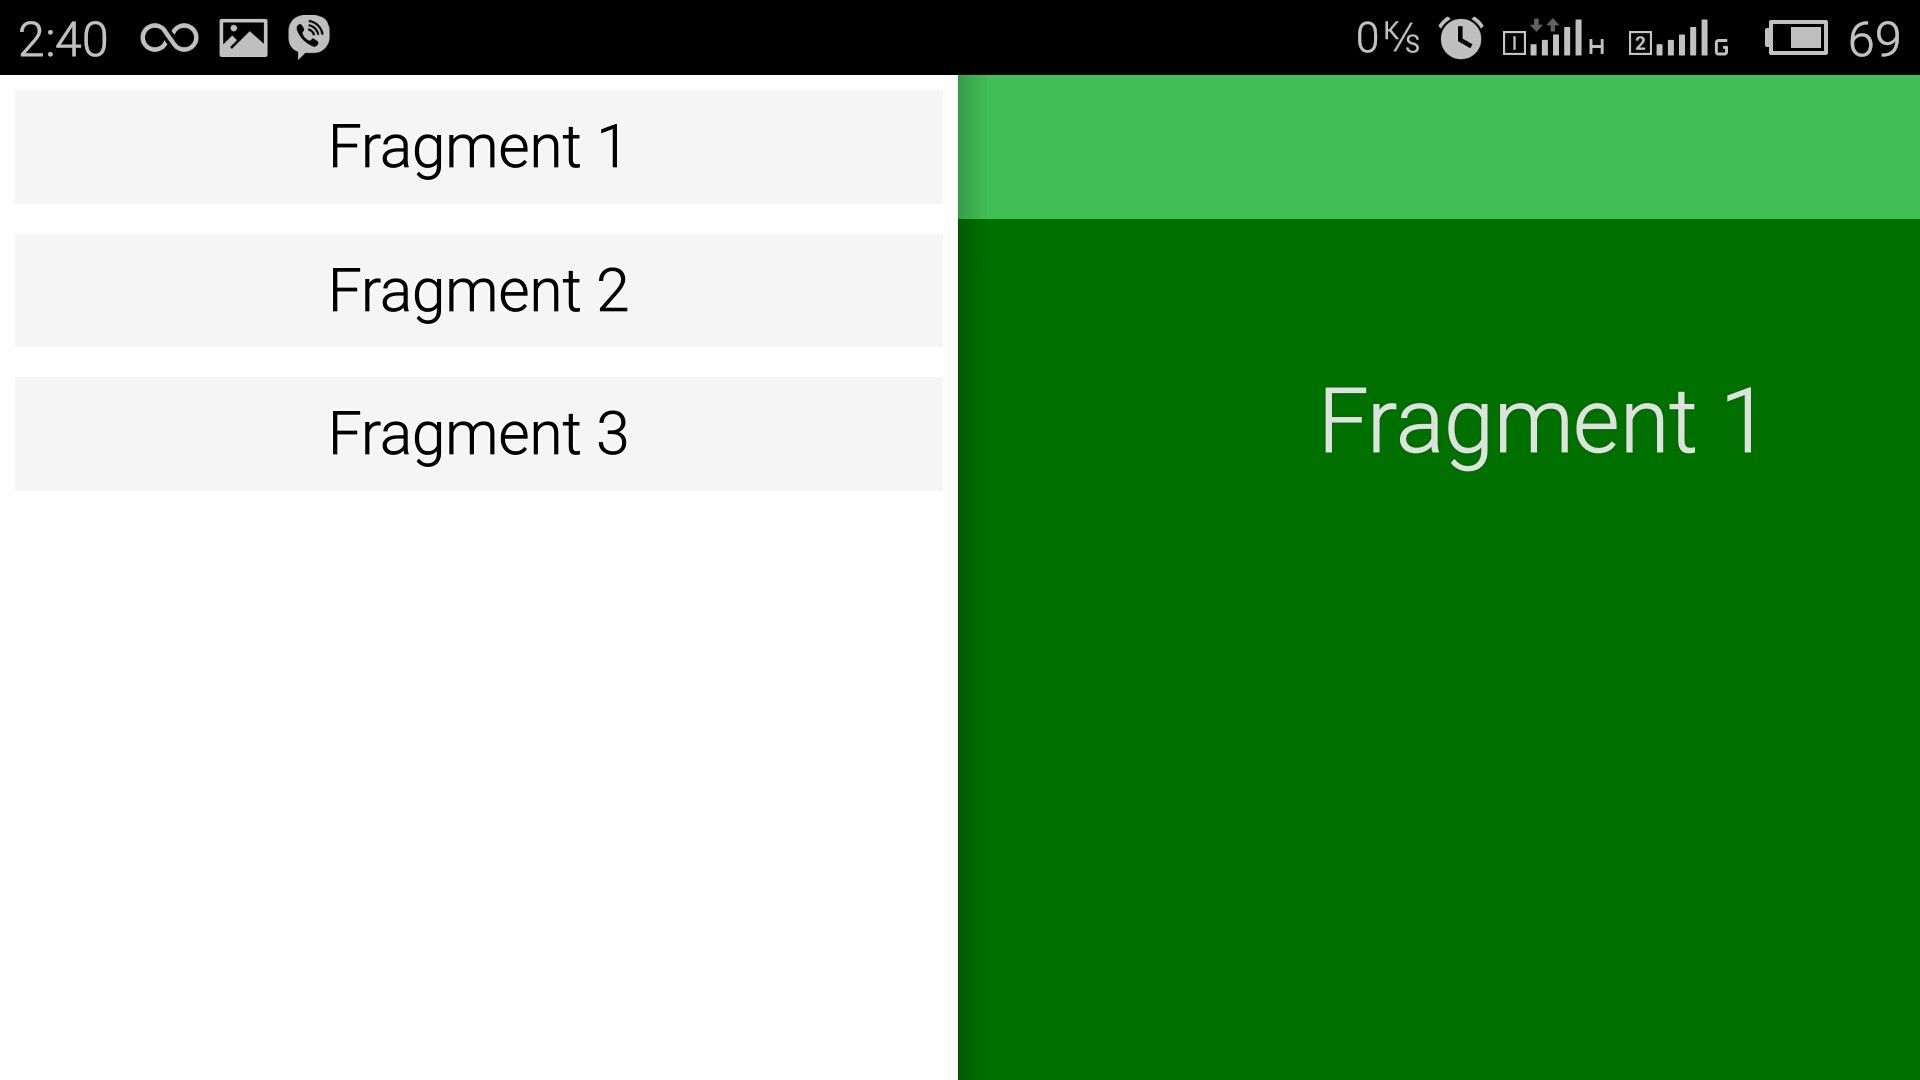
As a result of the written application will appear as shown in the following figure.
Link to the project download in zip-archive: QML Navigation Drawer


Не работает, если запихать Navigation Drawer в элемент List View. Drawer срабатывает только для первого элемента в списке.
Уже разобрался, где ошибка. В 126-й строке должно быть не
, аКроме того, QML ругается на 135-ю строку. Думаю, там должно быть
Добрый день!
Я считаю, что это всё же ошибка, т. к. координаты Item'а всегда задаются относительно родителя. Соответственно, чтобы MouseArea занимала по высоте весь родительский элемент, её координата Y должна быть равна 0, а не координате Y родительского элемента.
Ясно, вопросы обратной совместимости.
Это как раз мой Use Case, потому-то я и задал тут вопрос.
Дело в том, что я использую Ваш Dawer не только для главного меню приложения, но и для контекстного меню элементов ListView.
Да, теперь представляю, как то работает. Согласен, ваша правка определённо к месту здесь.