In the previous article , two buttons were created, which were responsible for changing the text in the text field. And now let's consider the option when we need to output information to the console about the button presses, or to display a pop-up message. That is, we modify the previous lesson.
In fact, this will be the very moment when there will be almost no additional differences in the code. In both cases, there are corresponding Classes / Types that are responsible for all this functionality.
Output to the console
In the case of Java, the Log class serves for this, and in the case of QML, the console functional is used for this, which is familiar to Web programmers.
Console messages have different levels of importance:
- ERROR
- WARN
- NFO
- DEBUG
- VERBOSE
In the case of Java, this will be the following static methods of the Log class:
- Log.v()
- Log.d()
- Log.i()
- Log.w()
- Log.e()
In the case of Qt QML, these are the console methods:
- console.log
- console.debug
- console.info
- console.warn
- console.error
The console uses C ++ qCDebug, qCWarning, and so on. That is, within QML, these functions coming from JavaScript are translated into C ++ methods, which already serve to output information to the console.
Java
To output to the console in Java, you need to import the corresponding package with the Log class into the java file
- import android.util.Log;
And call the necessary methods of this class
- View.OnClickListener onClickListenerOkBtn = new View.OnClickListener() {
- @Override
- public void onClick(View v) {
- Log.d(TAG, "Button ОК");
- }
- };
QML
To output to the console from QML code, you do not need to connect or import anything. You just need to call the necessary function in the right place of the code.
- onClicked: {
- console.debug("Button Ok")
- }
Pop-up messages
In Java under Android there is a special class for calling pop-up messages, which is called Toast. And only for this purpose it serves. While in QML for these purposes you can use the Type ToolTip, which can be used as well as the usual tooltip for interface elements. ToolTip can be instantiated and attached to various QML objects, also many QML graphic objects already have a ToolTip object, you just need to configure its behavior.
But in this lesson we will try to implement the standard Toast, which is present in Java Android.
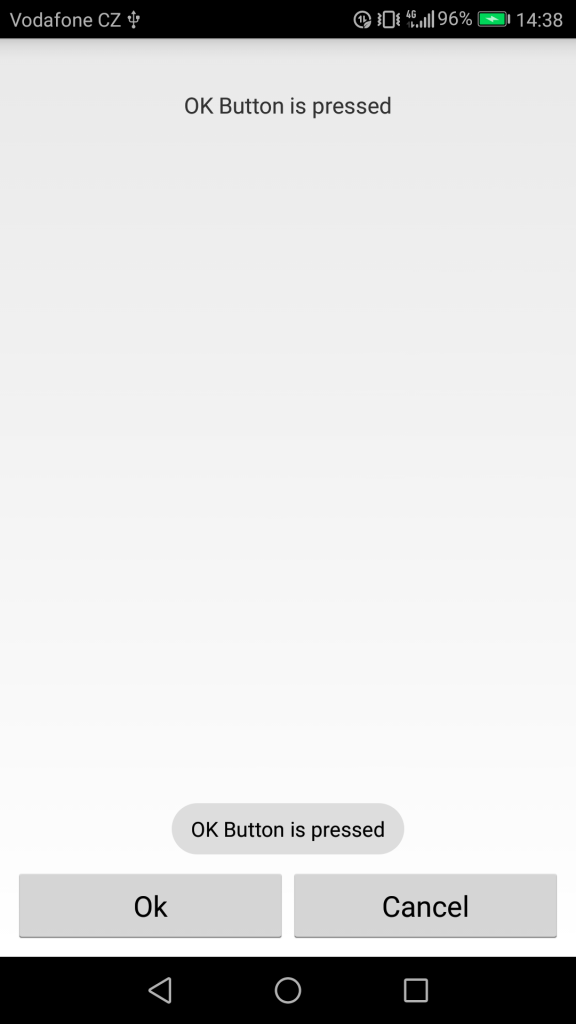
This Toast in Java Android looked like this

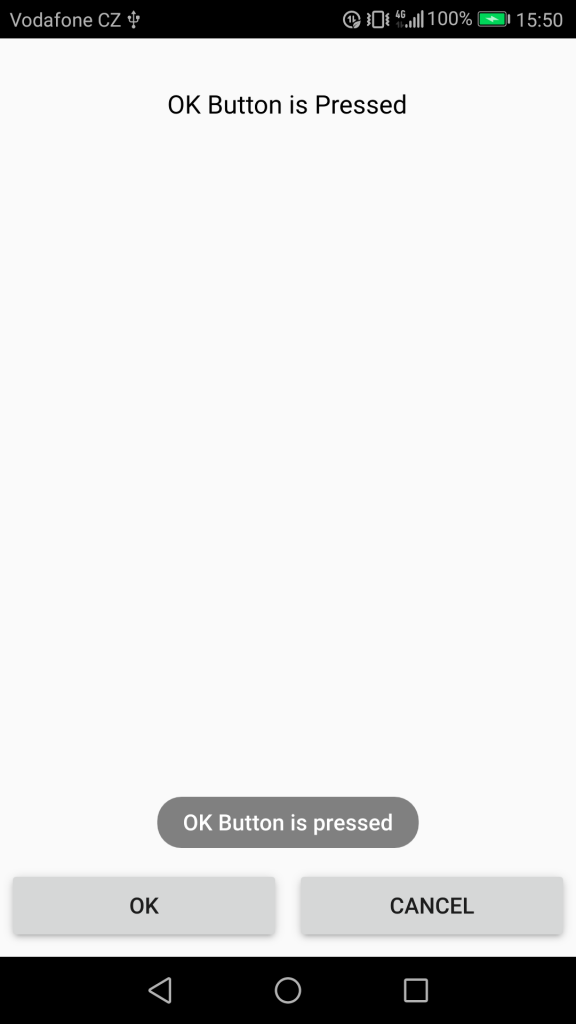
While Toast in QML looked like this

The behavior and appearance of these pop-up messages are similar, and therefore we can now look at the program code.
Java
For Java, you need to import the Toast class
- import android.widget.Toast;
and call a pop-up message in the correct part of the code
- Toast.makeText(getApplicationContext(), "OK Button is pressed", Toast.LENGTH_LONG).show();
Little code has been obtained, and in this lesson Java somewhat wins by the amount of written code, because in QML we will try to bring the appearance and behavior of ToolTip QML to the appearance and behavior of Toast in Java, and this will require some customization.
QML
To use the ToolTip type, the QtQuick.Controls 2 module is imported
- import QtQuick.Controls 2.3
Next, you need to add the ToolTip to the main application window, give it an id, and customize it.
- ApplicationWindow {
- visible: true
- width: 360
- height: 520
- title: qsTr("QML Buttons")
- ToolTip {
- id: toast
- delay: 500
- timeout: 5000
- x: (parent.width - width) / 2
- y: (parent.height - 100)
- background: Rectangle {
- color: "gray"
- radius: 15
- }
- }
- // another code
- }
And then already set the text to it and set the visible property to true.
- onClicked: {
- toast.text = qsTr("OK Button is pressed")
- toast.visible = true
- }
Conclusion
The output to the console is equivalent to Java and Qt QML.
Pop-up messages in Java Android by default win on ease of embedding in pop-up messages in Qt QML, but do not forget that QML ToolTip is a tooltip that has more advanced functionality than Toast in Java. For example, ToolTip can be used at the Slider object and move behind the slider, which is not provided by Toast. Also ToolTip is easier to customize.
