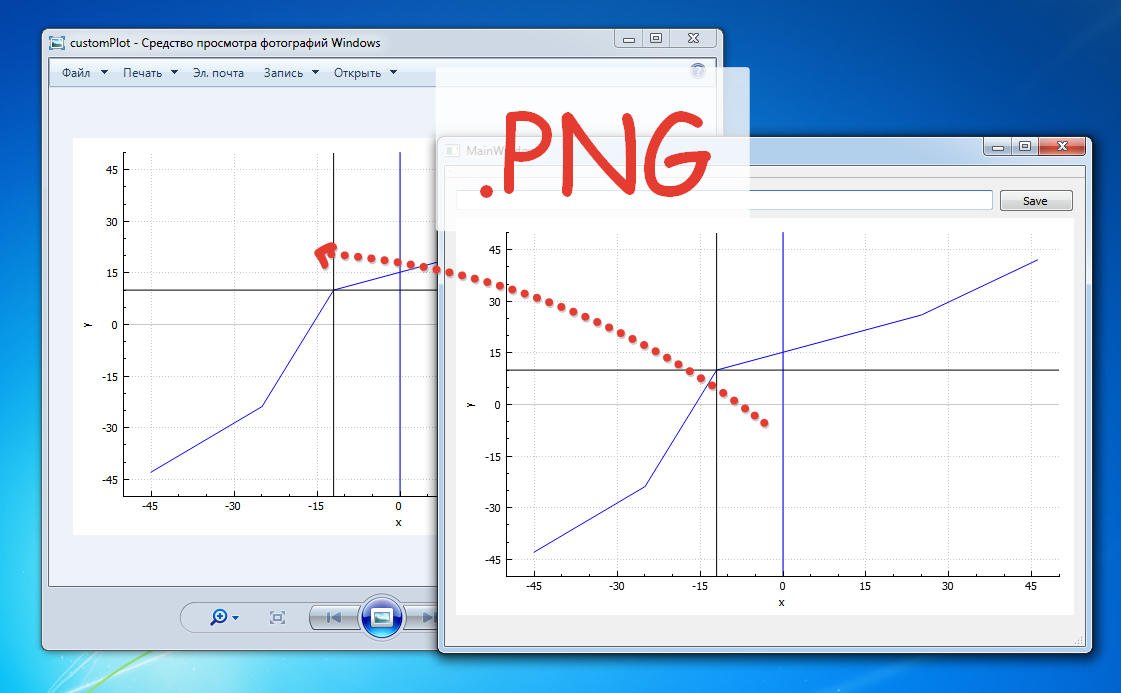
In a previous article on working with QCustomPlot was an example of the use of this library. But after the schedule is built, it may be necessary to make its preservation as a graphic file. QCustomPlot Library already provides methods necessary for this. All you need to do - is to create a file which will be saved and pass the path to the file in one of the methods to save the image.
Methods for saving images
- saveRastered(const QString &fileName, int width, int height, double scale, const char *format, int quality)
- saveJpg(const QString &fileName, int width, int height, double scale, int quality);
- savePng(const QString &fileName, int width, int height, double scale, int quality);
- saveBmp(const QString &fileName, int width, int height, double scale);
- savePdf(const QString &fileName, bool noCosmeticPen, int width, int height, const QString &pdfCreator, const QString &pdfTitle);
saveRastered
It is a fundamental method for methods: saveJpg , savePng , saveBmp . So he called in all of these methods. Inside the method saveRastered QPixmap instance is created, through which the image is saved from QCustomPlot widget. For this method, you can specify the type of file to be saved. Then the remaining three methods simplify work and just write code, canceling the need to specify the file type.
savePdf
This method stands alone and does not use QPixmap , and runs through QPrinter . Although the use of logic in the minimum variant is similar to the rest of the methods.
Save image
Extend the code from the previous tutorial by adding the Save button in the slot where the preservation of the image will be in the file in the following path C:/example/customPlot.png.
In addition to the path to the file, you can specify image quality, its scale, and the parameters of the parties.
- void MainWindow::on_pushButton_clicked()
- {
- QString fileName("C:/example/customPlot.png");
- QFile file(fileName);
- if (!file.open(QIODevice::WriteOnly))
- {
- qDebug() << file.errorString();
- } else {
- wGraphic->savePng(fileName);
- }
- }

